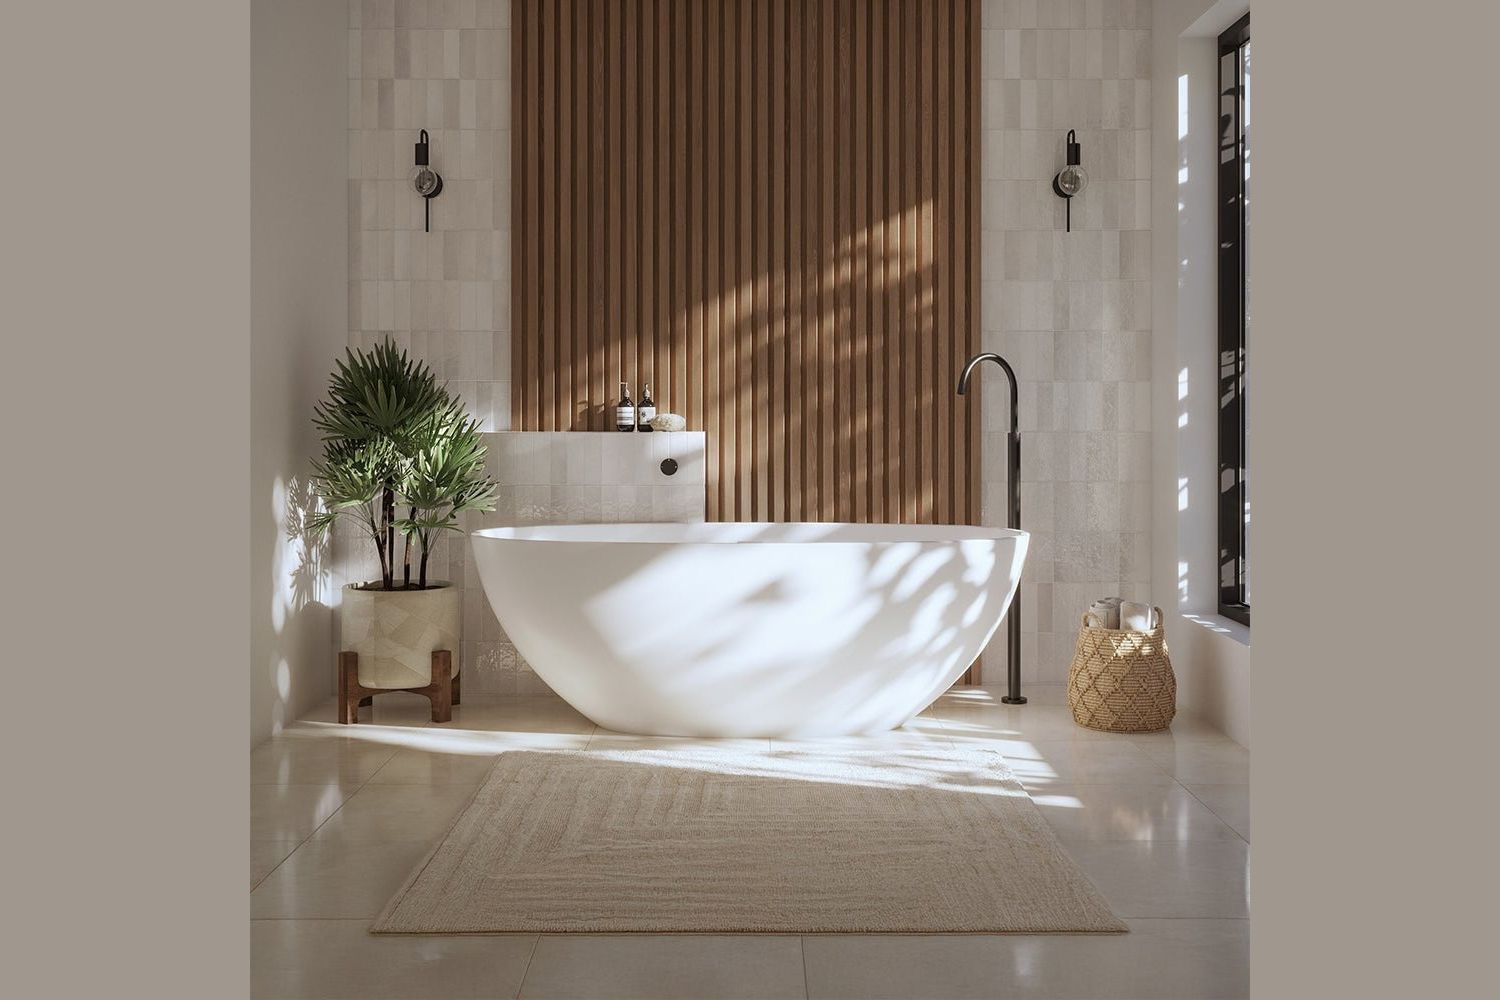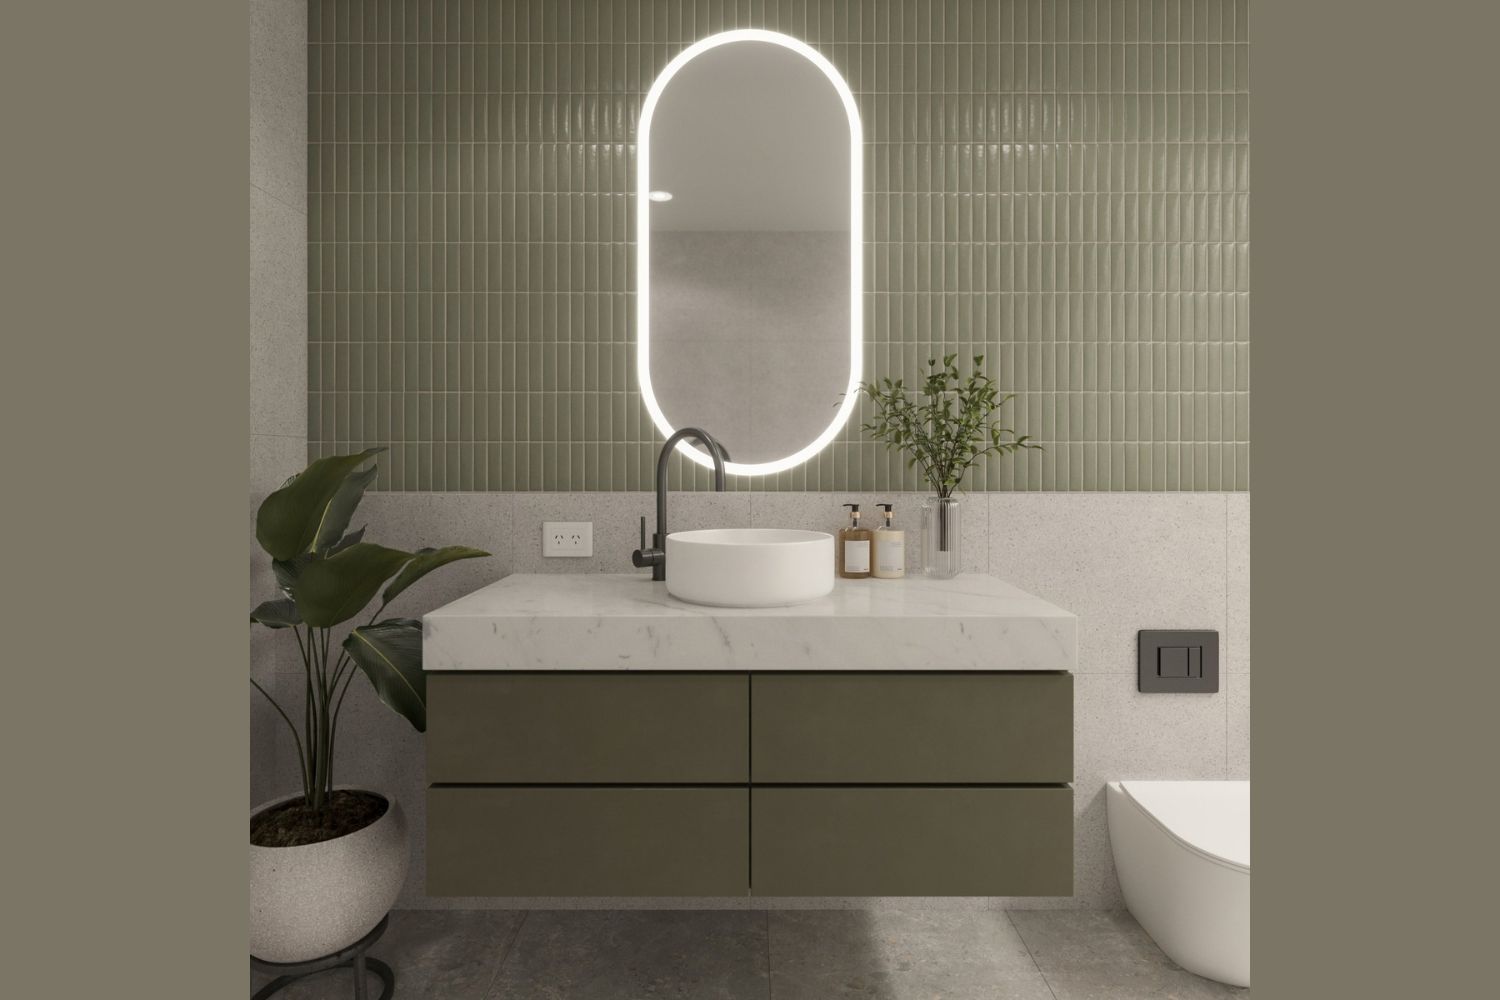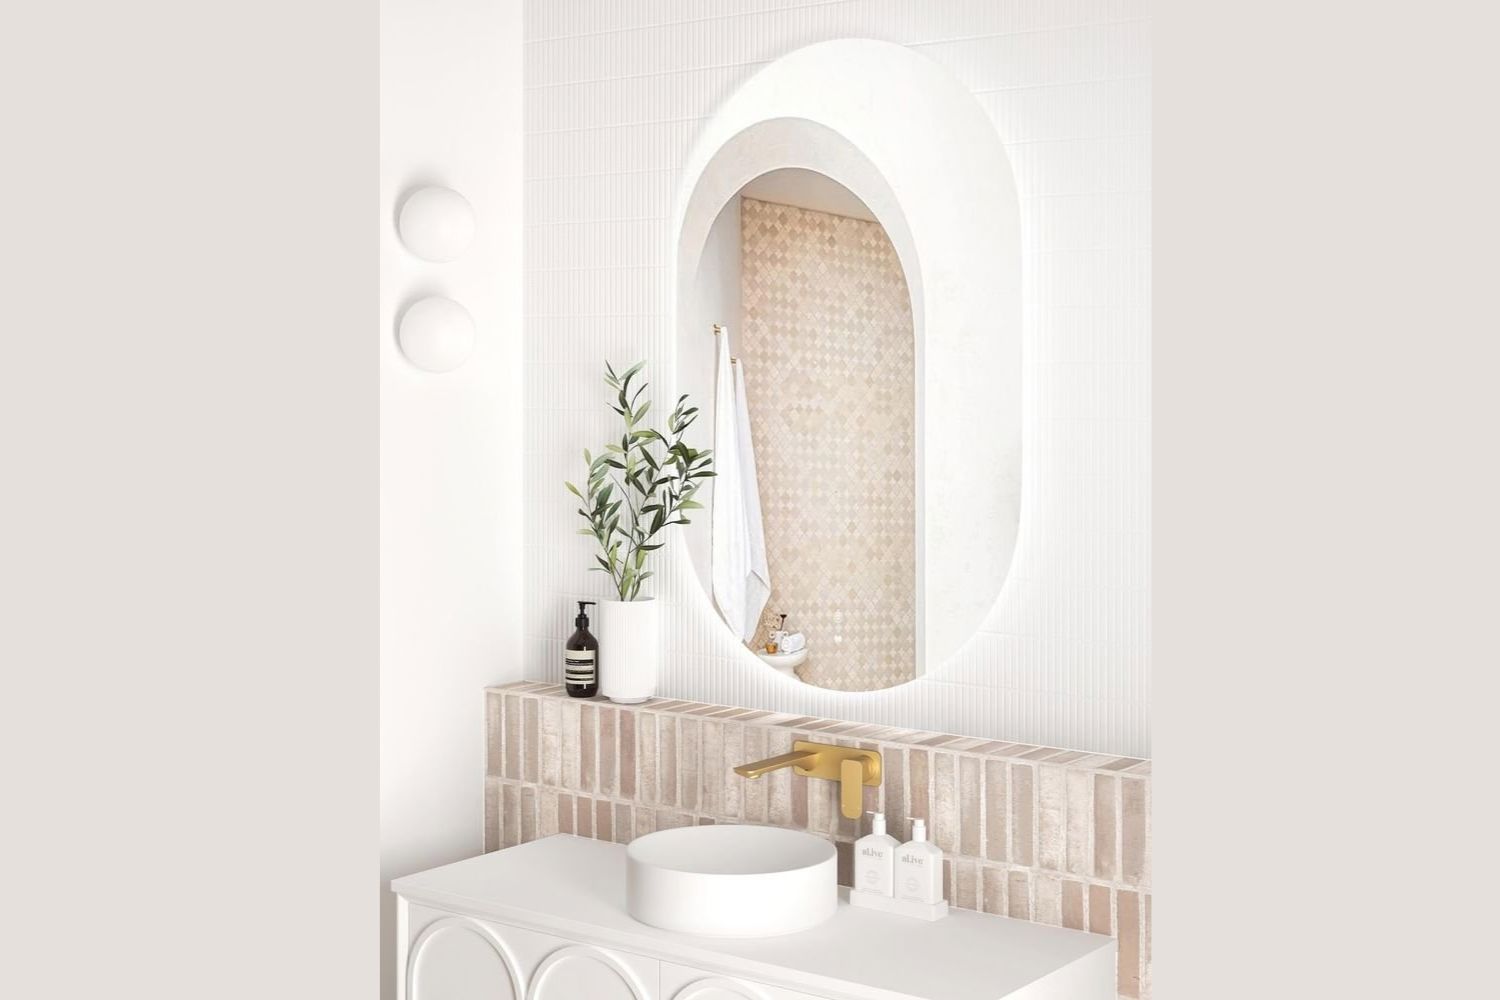
The right bathroom tiles come down to three things: where they’re going (floor, wall, or wet area), how much slip resistance the space needs, and what finish suits your design.
Porcelain handles floors and high-traffic zones well, ceramic suits walls and lighter-duty surfaces, and textured or stone-look finishes add grip in showers. Matching size, colour, and layout to the room’s proportions matters just as much as the material itself. Nail these fundamentals before you fall for a colour swatch. Below is a simple breakdown of tile types, layouts, and finishes for bathrooms, with guidance on where each performs best and what to avoid.
What’s the Difference Between Porcelain and Ceramic Bathroom Tiles?
Porcelain tiles are denser and less porous than ceramic, which makes them better suited to bathroom floors, shower bases, and any area that sees constant moisture. Ceramic tiles cut and install more easily, making them a practical choice for walls, splashbacks, and feature areas where water exposure is lower.
A common mistake is fitting a light-duty ceramic on a shower floor, where foot traffic and moisture demand a tougher surface. For a full ensuite renovation, pairing porcelain floor tiles with ceramic wall tiles remains a standard, cost-effective approach.
| Feature | Porcelain | Ceramic |
|---|---|---|
| Water resistance | Higher | Moderate |
| Best use | Floors, wet areas | Walls, splashbacks |
| Durability | Very high | Good for light traffic |
| Cutting/installation | Harder, denser material | Easier to cut |
| Typical cost | Higher | Lower |
Which Tile Sizes Work Best in Small Bathrooms?
Larger format tiles, such as 600 x 600mm or 600 x 1200mm, cut down on grout lines and can make a compact bathroom feel calmer.
Smaller tiles, like 200 x 200mm or mosaic formats, suit feature walls, niches, and areas where extra grip underfoot pays off. Picture a small ensuite where a large-format floor tile runs wall-to-wall to stretch the space visually, while a mosaic strip livens up the shower recess. Avoid mixing too many tile sizes in a small room; it fragments the space rather than opening it up.
- Large format (600 x 600mm+): Fewer grout lines, ideal for floors and main wall areas in small to mid-sized bathrooms.
- Subway and rectangular tiles: A timeless layout option that works well on walls and in classic or transitional schemes.
- Mosaic formats: Best for shower floors and niches, offering more grip and design flexibility in tight spots.
- Hexagon tiles: A popular feature option for floors or feature walls, adding texture without overwhelming a small footprint.
What Slip Resistance Rating Do Bathroom Floor Tiles Need?
Slip resistance is graded, and tiles intended for wet areas like showers and vanity zones should carry a rating suited to that exposure, often marked P3 or P4 on product listings. A textured or matt finish grips better underfoot than a highly polished surface, particularly in showers and around baths.
One frequent oversight is choosing a polished or glossy tile for a bathroom floor purely for its look, which can create a genuine safety hazard once wet. For shower floors specifically, prioritise a textured, higher-grip finish even if it means switching finishes from the rest of the room.

How Do You Choose a Tile Finish and Colour Palette?
Matt finishes are the practical default for bathroom floors: they hide water marks and offer better grip, while polished finishes suit walls or feature areas where slip isn’t a concern.
Neutral palettes such as white, ivory, or light grey keep a bathroom feeling bright and timeless, while deeper tones like navy or charcoal work well as accent features. Blue and green tiles are also incredibly popular for coastal-style homes.
Sample tiles under your actual bathroom lighting before committing, colours shift noticeably between showroom and site.
- Matt finishes: Practical for floors and shower bases; better slip resistance and easier to keep looking clean between grout lines.
- Polished finishes: Reflective and suited to walls or low-traffic areas where light-bounce is desirable.
- Structured or decor finishes: Add texture and pattern interest, often used as a feature alongside a plainer field tile.
- Stone-look and terrazzo finishes: Bring warmth and texture without the maintenance demands of natural stone.
Should You Use Natural Stone or Stone-Look Porcelain?
Natural stone tiles offer a textured, organic look but generally demand more sealing and maintenance in a wet environment than porcelain. Stone-look porcelain replicates that aesthetic, including travertine and sandstone-style finishes, while delivering the lower-maintenance performance of standard porcelain.
A bathroom renovation chasing a natural, earthy feel can pair a stone-look floor tile with a honed feature tile for texture, sidestepping the ongoing sealing that quarried stone demands. Weigh aesthetic authenticity against long-term upkeep, particularly in a household where resealing won’t stay a priority.

What Layout Patterns Suit Different Bathroom Styles?
Layout pattern changes the entire feel of a tiled surface even when the tile itself stays the same. Herringbone and French pattern layouts suit feature walls or floors in a more classic or European-inspired bathroom, while a straight lay or brick bond suits a clean, contemporary scheme.
Picture a powder room where a herringbone floor becomes the standout design element, letting the walls stay simple. Avoid choosing an intricate pattern for a very small area, offcuts and pattern-matching can push up both material waste and labour cost.
Where Should You Start When Selecting Bathroom Tiles?
Start by mapping which zones need which properties: floors and shower bases need slip resistance and durability, walls need a finish that suits the design, and feature areas can flex toward decorative options.
From there, narrow choices by size and colour to suit the room’s proportions and light levels before settling on a layout pattern. Buildmat’s range of bathroom tiles spans porcelain and ceramic options across floor, wall, and feature applications, making it a great starting point for comparing finishes side by side.
Before you order, confirm:
- Slip rating suitable for floors and shower bases (P3/P4 where relevant)
- Matching quantities plus extra for cuts, waste, and future repairs
- Consistent tile thickness across zones for smooth transitions
- Finish and colour sampled under your bathroom’s actual lighting
- Wall versus floor suitability confirmed for every tile in the plan
If you’re still deciding, start with the zone that carries the most risk: pick your shower floor and main floor tile first, confirm the slip rating, then build walls and feature areas around that choice.