


Here’s a 8 simple tips to help you care for your indoor plants, which will thrive when given some regular and basic care

Many an indoor plant lover has brought home a new leafy friend, only to have it swiftly meet an unfortunate end. It doesn’t have to be this way! This handy checklist explains how to care for your indoor plants. You’ll find that they will flourish if given regular care.

1. Sunlight
Most indoor plants love growing in a brightly lit room, away from direct sunlight. Plants growing in a position with less than their ideal level of light will develop yellow leaves and weak spindly growth. Direct sunlight can, however, burn some tender indoor plants. Adjust the position of your plants around the house and within rooms to give them their preferred amount of sunlight.
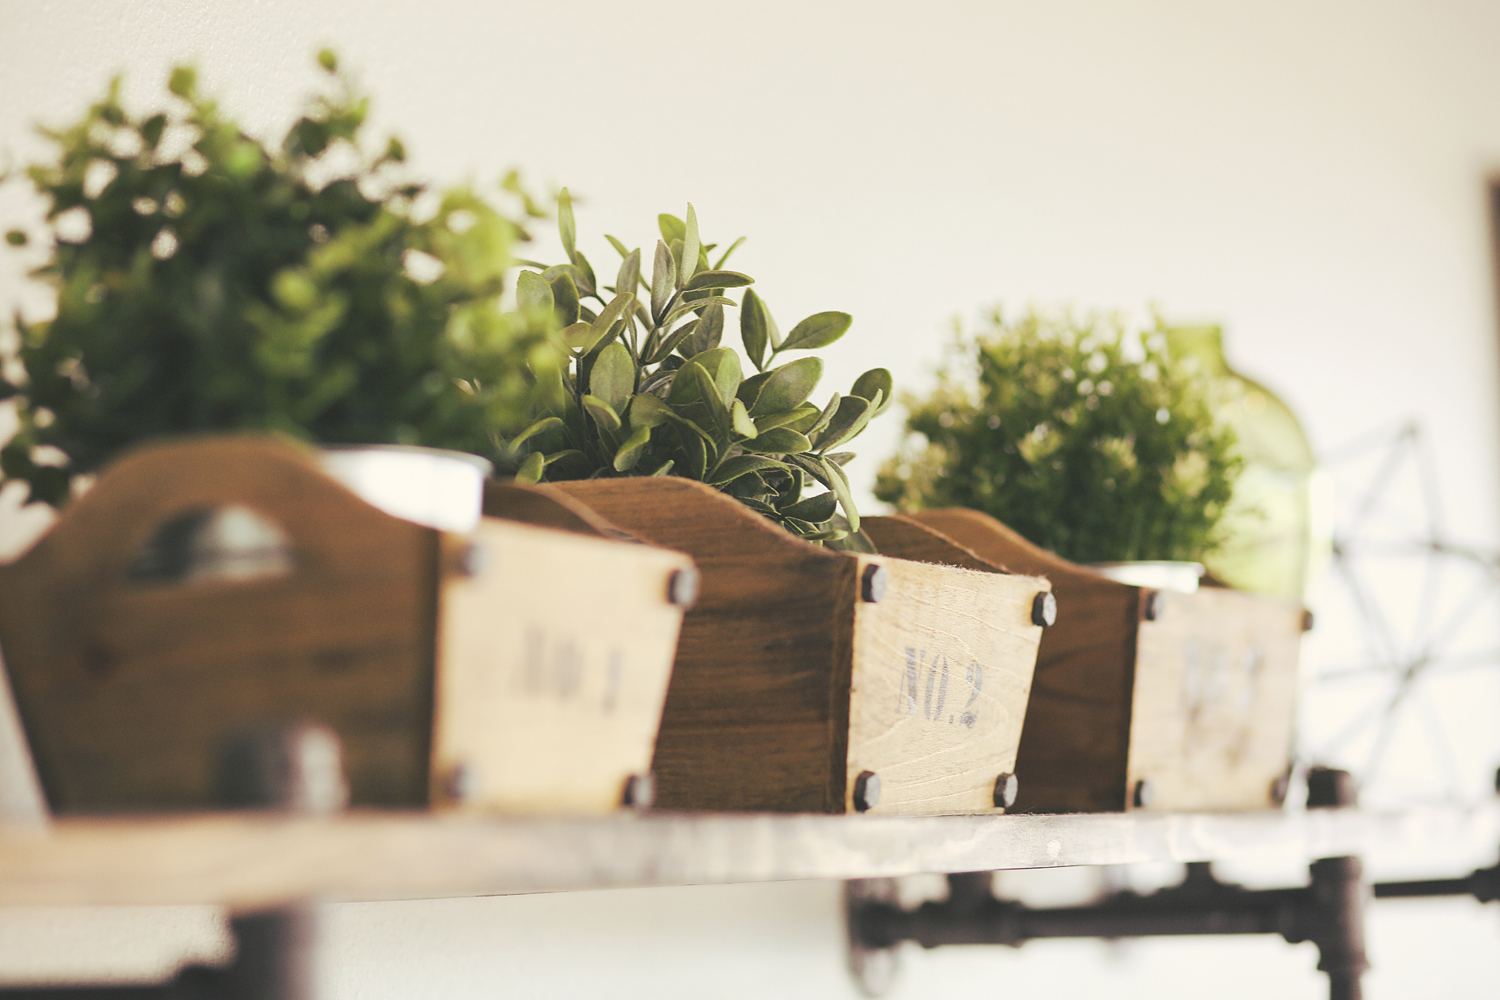
2. Types of pots
There’s such a fabulous range of attractive pots to choose from, including earthy terracotta, colourful ceramic, cost-effective plastic and lightweight fibreglass. To ensure good drainage, the pot should have adequate holes. Many decorative pots don’t have drainage holes and drilling into them can lead to the pots cracking and breaking. Instead, you can sit a plain plastic pot (which has drainage holes) inside the pretty pot. Just ensure that water does not pool at the base of the decorative pot, as this can lead to unhealthy growth and root rot. Self-watering pots are a great idea for indoor plants, particularly if your watering regime is less than ideal.
3. Managing moisture and watering
It’s important to become familiar with the amount of moisture your indoor plants need. Unlike sunlight, there is no one level of watering that will suit all indoor plants. Some plants, such as maidenhair ferns, need to be kept consistently moist and others, like mother-in-law’s tongue, like it on the dry side. The easiest way to check moisture levels in potted plants is by gently digging your finger around in the top few centimetres of potting mix.
There are a few tricks to correctly watering your interior foliage. A small watering can with a narrow spout allows you to direct water down to the base of the plant, rather than over the leaves, which can then splash out onto furniture and carpets.
Another option is using the “dunk” method, which works with pots that have drainage holes. Half fill a bucket or the kitchen sink with water, sit your potted plant in the water, making sure that the level of water is not higher than the top of the pot. Leave the pot sitting in the water for around 15 minutes, water will soak up through the drainage holes and help to thoroughly wet the potting mix and root zone. Then remove the pot from the water and allow the excess water to drain away. The plant can then be popped back on its saucer or decorative pot.

4. Feeding
Potted plants can quickly run out of nutrients and leaf growth and flowering will slow as plant health suffers. Thankfully, it’s easy to provide indoor plants with the balanced diet they need to grow healthy leaves and colourful flowers. Look for plant foods that have been specially designed for indoor plants (such as Yates Thrive Plant Food Spikes) which make fertilising super simple. Just insert a spike into the potting mix near the edge of the pot and it will feed the plant for two months.
5. Leaf care
The leaves of inside plants, particularly large leafed varieties such as fiddle leaf figs and monsteras, can accumulate dust. Not just unsightly, dust can adversely affect the way leaves function and makes the plant look unattractive, so it’s important to regularly remove dust with a duster or soft cloth. At the same time, remove yellow or dead leaves and also any spent flower stems.
6. Potting mix tips
Over time, the organic matter in potting mix can naturally break down and the level of mix around the plant’s roots shrink. If the plant is not yet ready to be moved into a bigger pot, a thin fresh layer of quality potting mix can be added over the top of the pot (no higher than the original level of mix) and also gently poked down the inner sides of the pot.
Potting mix can also become water repellent, which leads to moisture not penetrating evenly down into the plant’s root zone. Applying a liquid or granular wetting agent over the potting mix can help break down the waxy, water repellent layer and allow moisture to move more effectively down into the mix.
7. Repotting
When it’s time to upsize to a slightly bigger pot (don’t be tempted to go too big too soon – a gradual increase in size is best), remove the plant from its existing container and carefully tease out the outer layer of roots so they’re not tight and compacted. However, don’t do this with palms, which don’t like having their roots disturbed. Place the plant into the new pot and gently backfill around the roots with fresh quality potting mix. Water well afterwards to settle the potting mix around the roots.
Alternatively, once your plant has outgrown its pot, if you don’t want to or can’t progress to a larger pot, remove the plant from its existing container and then trim back about 20 per cent of the rootball. Plant back into the same container, filling around the rootball with new potting mix. This provides the roots with fresh mix to grow into, helping to rejuvenate the plant and promote new growth.
8. Pest & disease control
Protected indoor spaces can unfortunately create the ideal environment for pests and diseases to flourish. Monitor your plants regularly for the first sign of any trouble, as early intervention will help reduce the damage and potential spread to other plants. Common insect pests on indoor plants include aphids, mealy bug, scale and fungus gnats and diseases like mildews and leaf spots can also appear. Sprays such as Yates Nature’s Way Citrus & Ornamental Spray will control many common insect pests on indoor plants. Water the plant well beforehand, take it outside into a sheltered spot, spray the leaves and stems and wait for the foliage to dry before bringing the plant back inside. Remove any diseased leaves as soon as you notice them and spray with a fungicide if required.
For more information